Palo Alto VM-Series Overlay-Routing
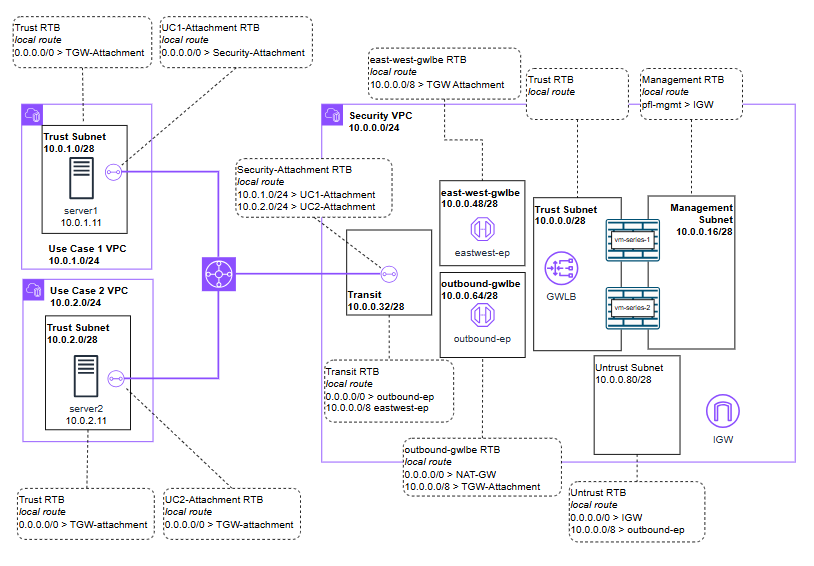
In our last post, we established the Centralized Hub model using the AWS Gateway Load Balancer (GWLB) and Transit Gateway (TGW) to reduce architectural complexity. While this centralized model already lowers costs by consolidating endpoints, we can take our optimization a step further with Overlay Routing.
By enabling Overlay Routing, the VM-Series move beyond simple inspection and act as the NAT Instance for the entire AWS environment. This shift allows us to decommission the AWS NAT Gateways entirely, eliminating their per-GB data processing fees. The benefits are twofold: significant cost reduction and enhanced security visibility, as the firewall maintains full ownership of the NAT state and egress traffic flow.
- Provision the Untrust Interface: Attach a dedicated Elastic Network Interface (ENI) to the VM-Series for public-facing traffic and disable source/dest checks in AWS to allow the ENI to forward traffic that doesn't originate from its own IP.
- Configure NAT Policies: Implement Dynamic IP and Port (DIPP) NAT on the Palo Alto to translate internal Spoke VPC traffic to our public Elastic IP.
- Validate the Path: Simulate outbound workloads from our Spoke VPCs and monitor the session state on the Palo Alto to confirm the NAT Gateway has been successfully bypassed.
While this can be done during initial provisioning, manually attaching the interface helps visualize the traffic flow. Let's create the new untrust interface and attach it to the VM-Series EC2 instance.
Create the ENI
Navigate to EC2 > Network Interfaces > Create Network Interface.
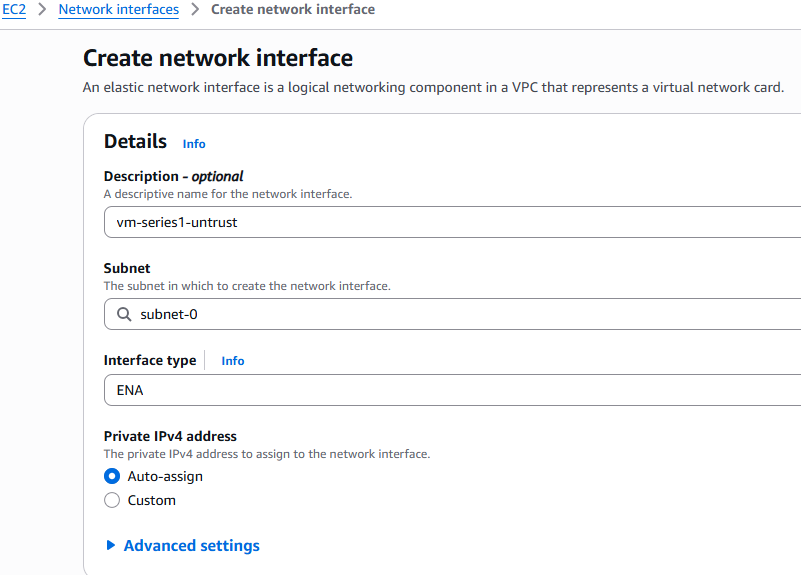
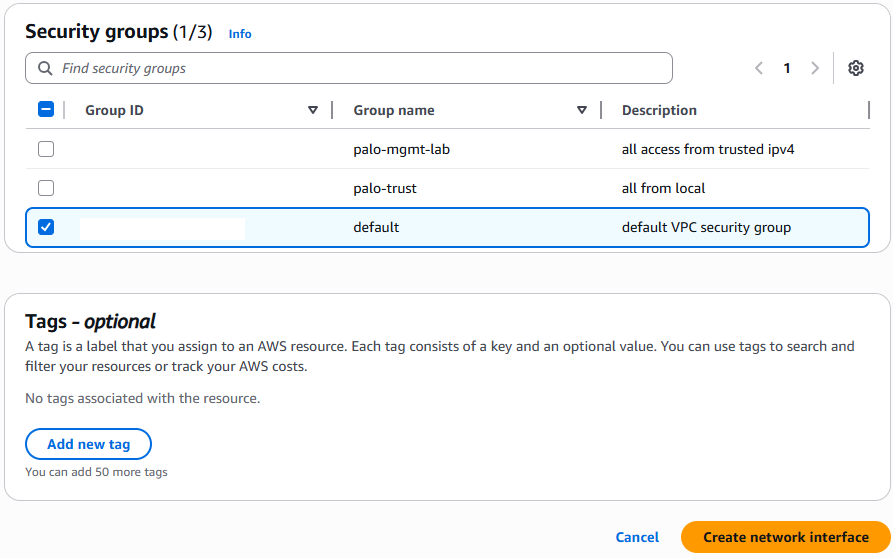
Assign it to your Public (Untrust) Subnet and attach a Security Group that allows outbound traffic.
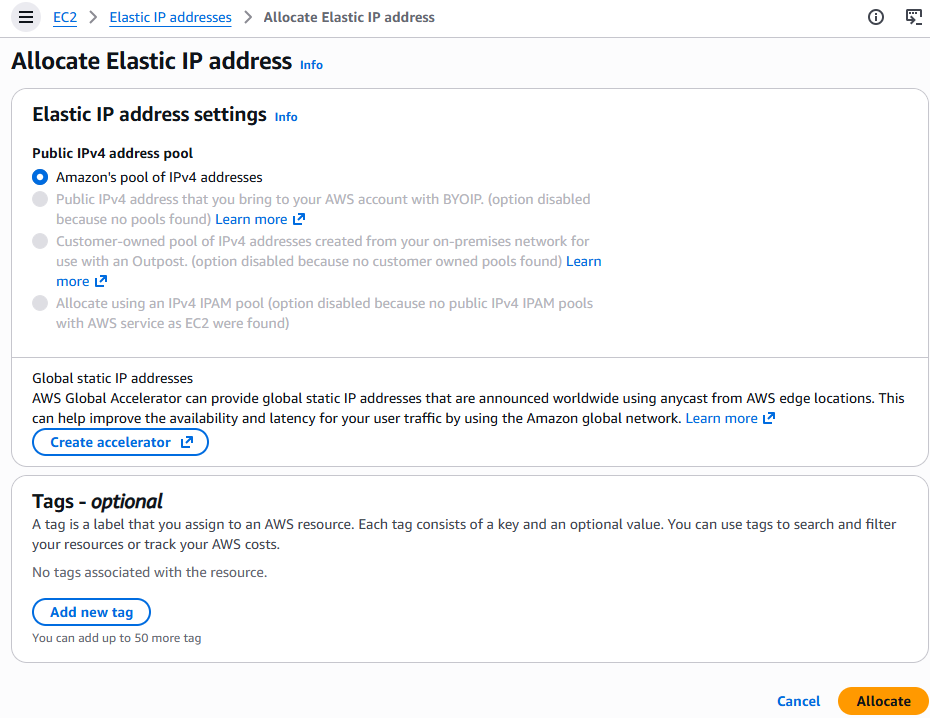
Allocate & Associate the Elastic IP (EIP)
Navigate to EC2 > Elastic IP addresses > Allocate.
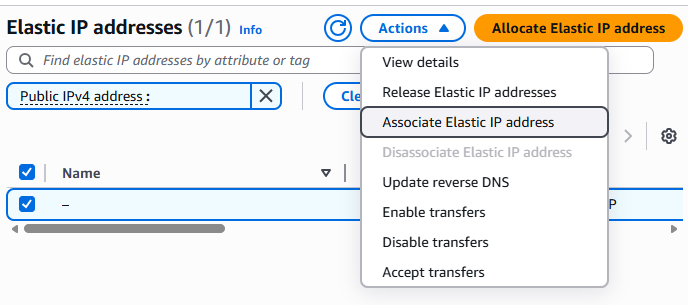
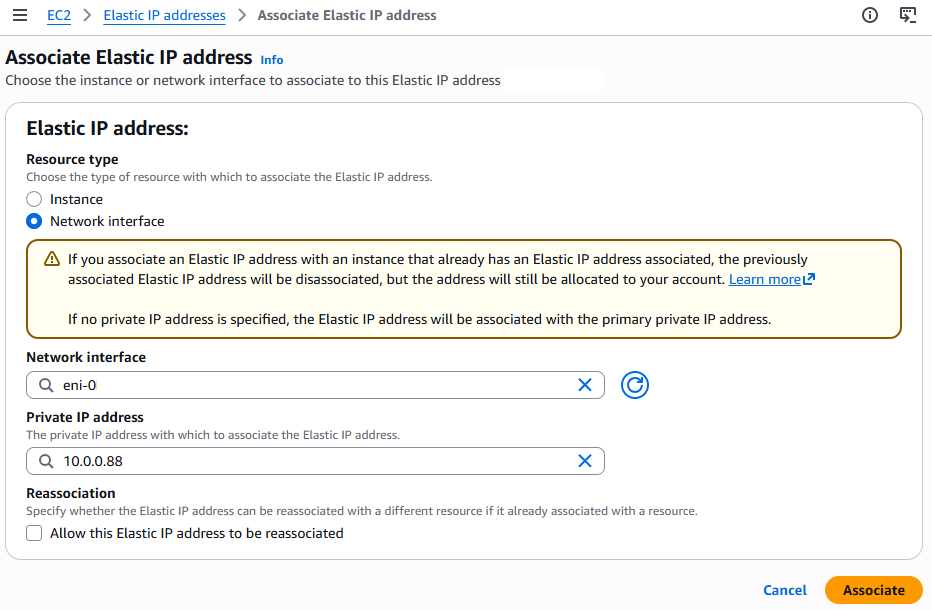
Once allocated, select Actions > Associate. Map this to your new Network Interface and its specific private IP.
Select your new ENI > Actions > Attach. Select your VM-Series instance.

Critical: Once attached, you must Reboot the VM-Series so the underlying Linux kernel can discover the new PCI device.
Now with the interface available lets enable the feature required and set the policies in the VM-Series itself.
Enable the Overlay-Routing Feature (CLI)
Enabling the feature can also be done during initial provisioning but here is how we can enable it via the CLI
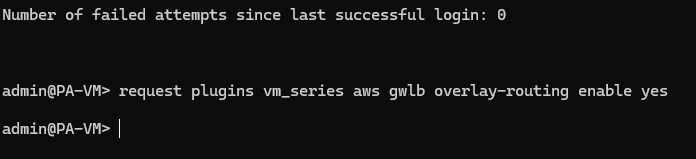
Request plugins vm_series aws gwlb overlay-routing enable yes
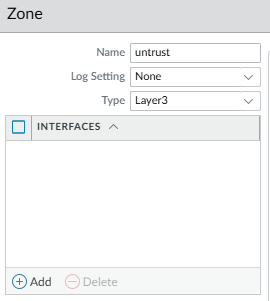
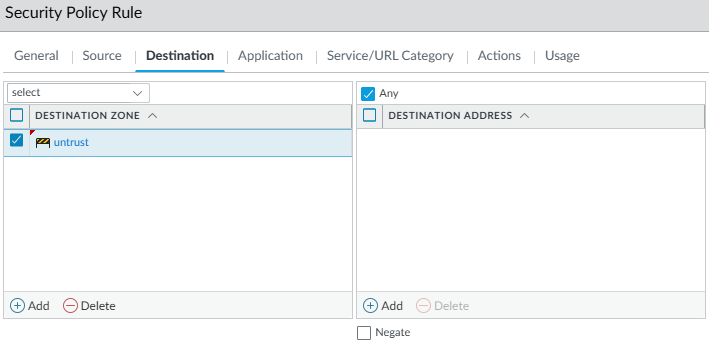
Zones
We will create a new zone for the untrusted traffic to traverse to the Internet Gateway (IGW). This is a requirement for our policies and is also nice for visibility and control.
Interfaces
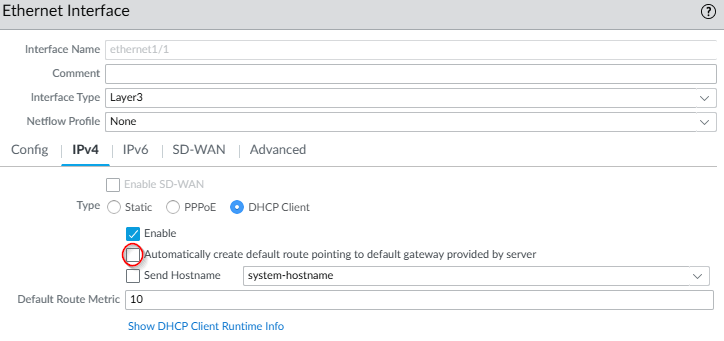
Trust
GO into the exisiting trusted interface and ensure "Automatically create default route" is Disabled. We don't want the Trust gateway to be our exit point.
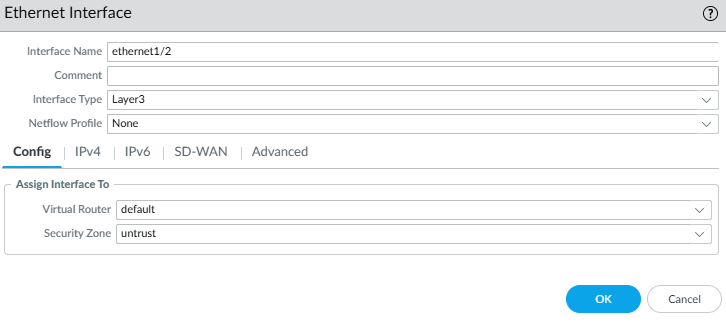
Untrust
Now edit out new interface ethernet1/2
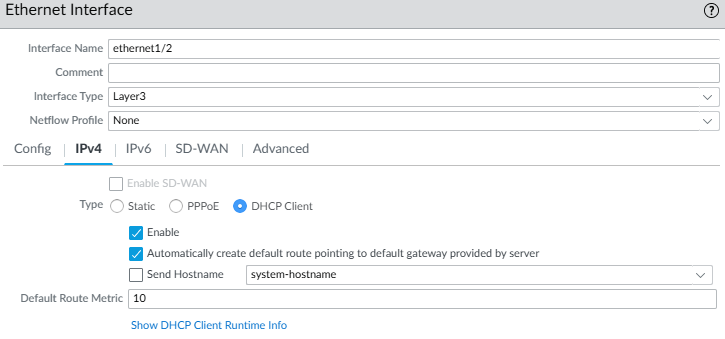
In IPv4 set it to DHCP. Enable "Automatically create default route" so the firewall knows to use the AWS IGW for all 0.0.0.0/0 traffic. If using statically assigned IPs then a static route will be needed in the Virtual Router(VR) reflecting the gateways IP.
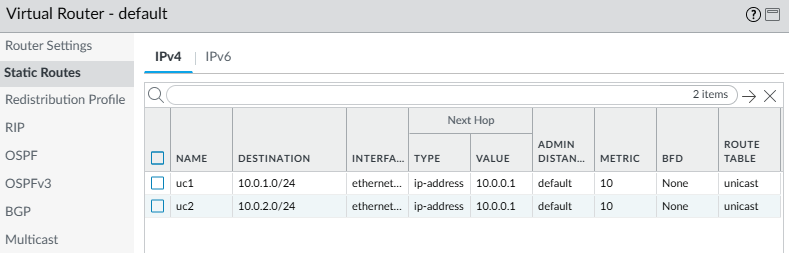
Virtual Router
We will continue to use the default VR from the last post. Ensure both interface eth1/1 and eth1/2 are in the same VR.
Add any routes for your Spoke VPC CIDRs (e.g., 10.0.0.0/8) pointing back to the Internal Subnet Gateway.
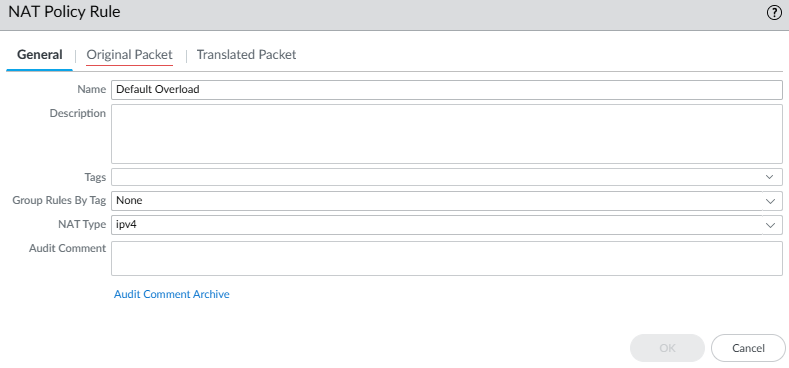
NAT Policy
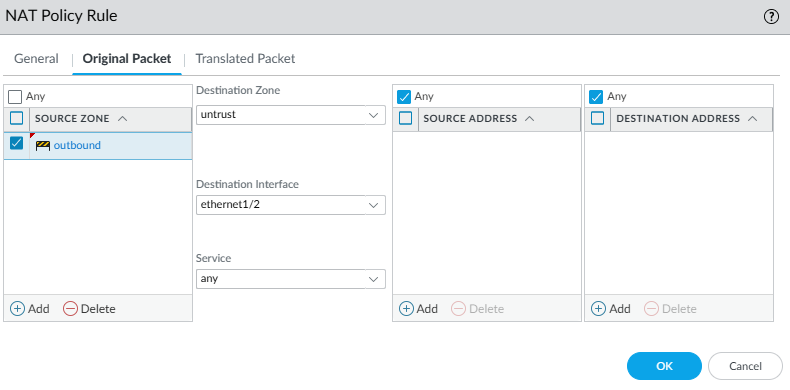
Create a new Dynamic IP and Port (DIPP) NAT policy
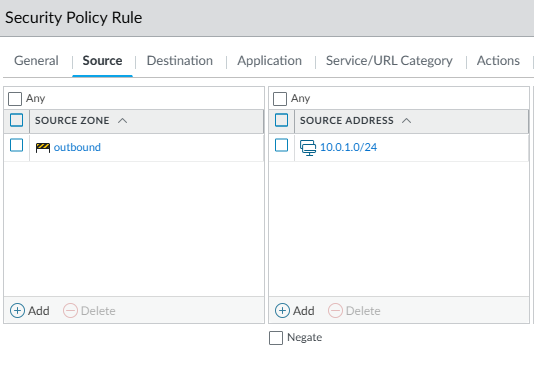
For source traffic for the original packet we have a dedicated GWLB endpoint called outbound which we created in the last post.
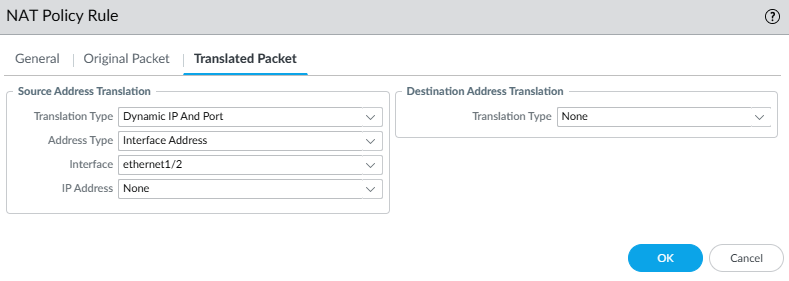
For the translated packet we will use the new untrusted interface.
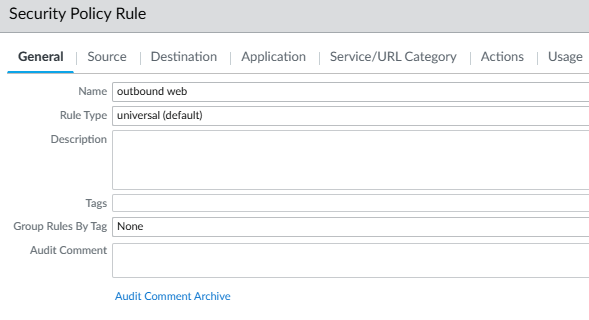
Security Policy
Now with the routing and NAT in place we need to create rules to allow or deny the traffic. In our lab for our test traffic we only allow use case 1 (UC1) web traffic so UC2 will show as denied.

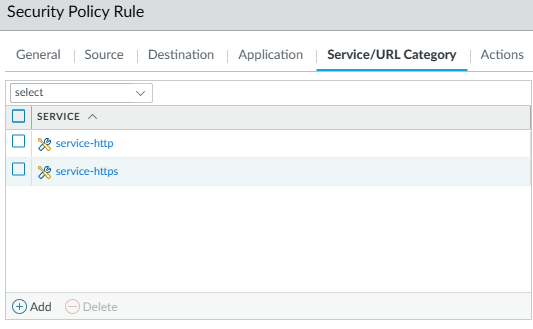
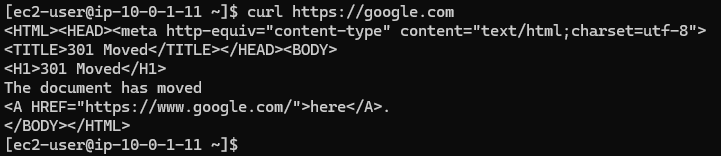
In this example UC1's server can reach the web while UC2 cannot. We can see this in the curl outputs as well in the VM-Series monitoring.
UC1
Curl to google.com success
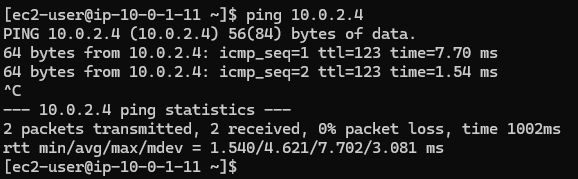
Cannot ping googles DNS at 8.8.8.8


Can ping other hosts in separate VPC for UC2
UC2
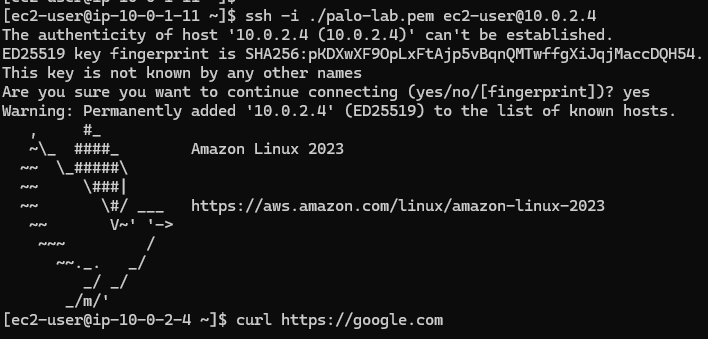
We can SSH to this instance from UC1 but it cannot reach the web and it shows the blocks below in the VM-Series monitoring,
